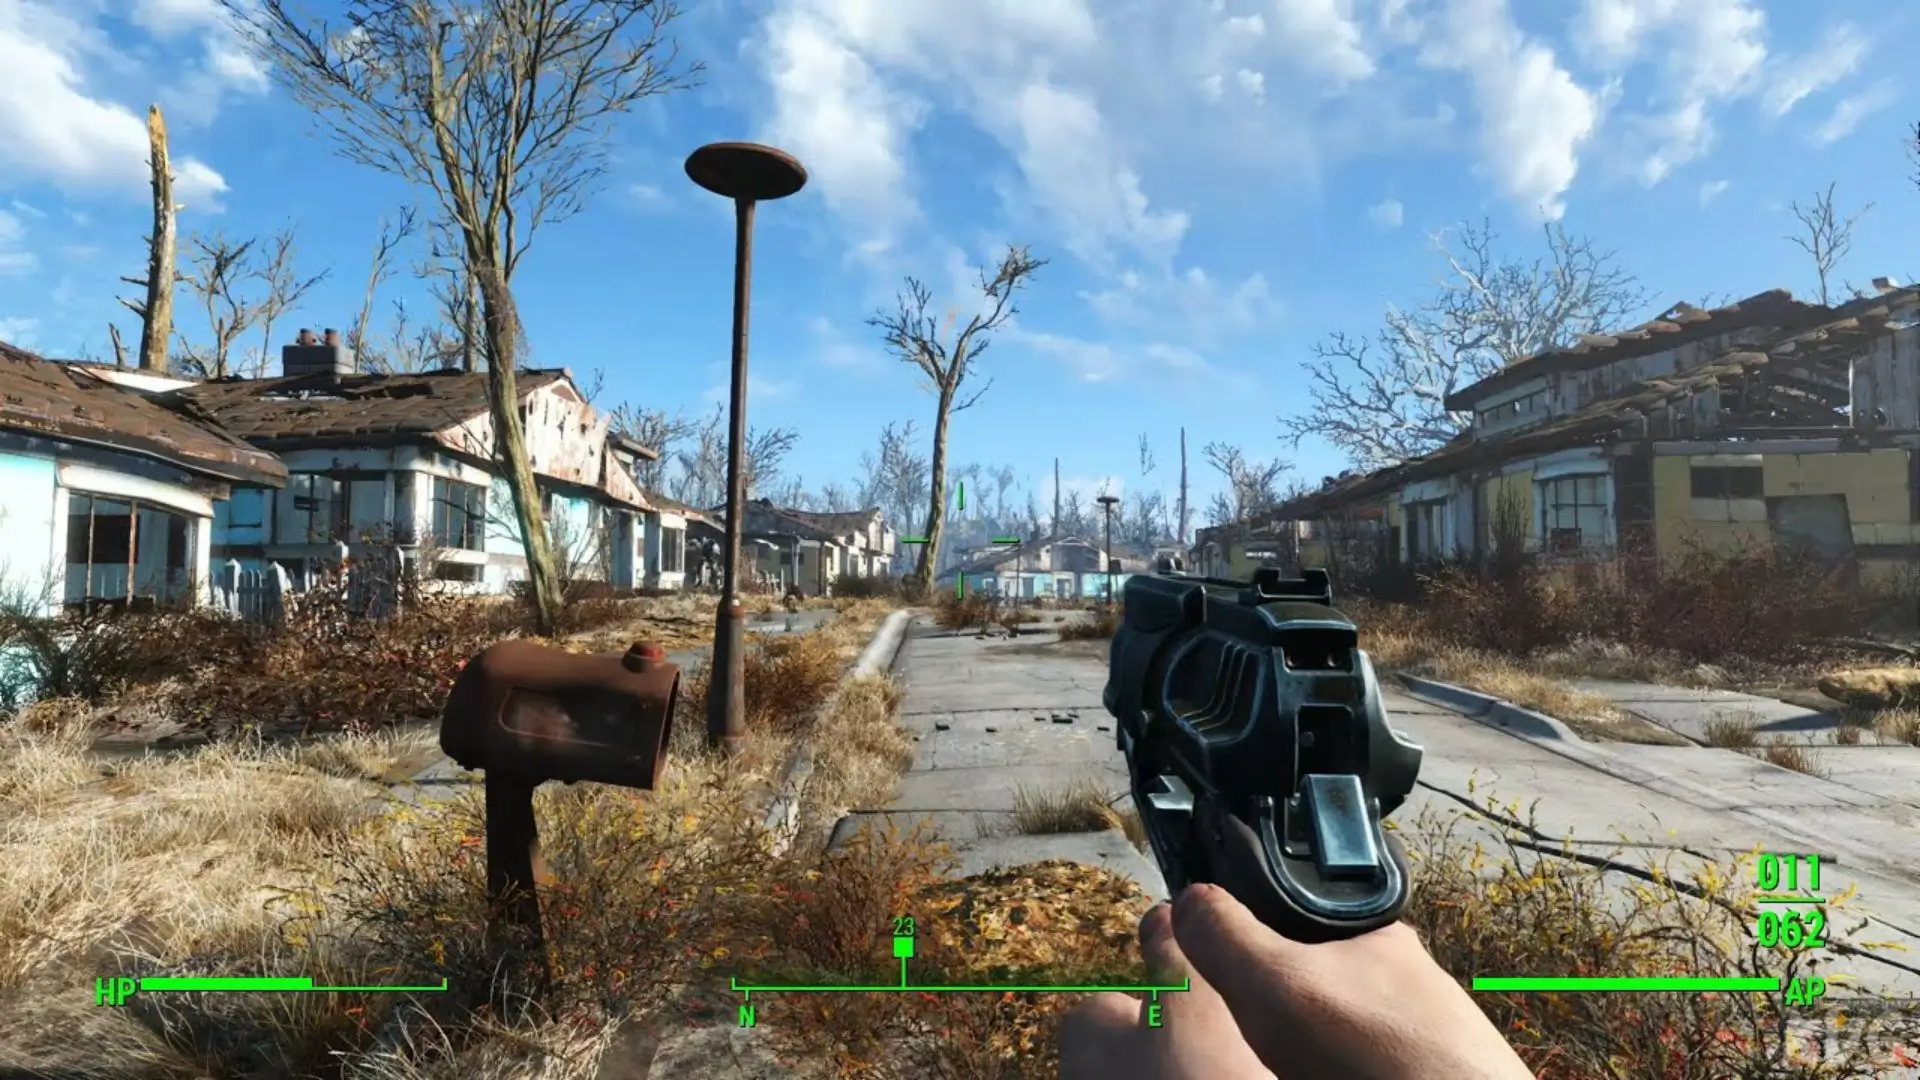
Mods are instrumental in keeping a game alive, even in the case of nearly decade-old titles like Fallout 4.
While Fallout 4 was undoubtedly an excellent game in its own right, it’s fair to say that the modding community has played a significant role in maintaining its popularity.
Many players continue to enjoy the game primarily because of the diverse range of mods available, which offer endless possibilities for customization and gameplay enhancement.
So, how to install mods on Fallout 4? Here’s a simple guide to installing Fallout 4 mods to enhance your gameplay and unlock endless possibilities in the Wasteland.
How to get mods on Fallout 4?
The process of getting mods for Fallout 4 varies depending on your platform. Here are your options:
For PC (Windows):
# Nexus Mods:
- Visit the Nexus Mods website and create an account.
- Browse Fallout 4 mods and download them manually.
- Install Nexus Mod Manager (NMM) or Mod Organizer 2 (MO2).
- Activate and manage mods through the mod manager.
# Steam Workshop:
- Open Steam and navigate to the Fallout 4 store page.
- Access the Steam Workshop and subscribe to mods.
- Launch Fallout 4 and manage subscribed mods in the launcher.
# Bethesda.net:
- Access Bethesda.net through a web browser or the Fallout 4 launcher.
- Browse and download mods available on Bethesda.net.
- Install and manage mods through the Fallout 4 launcher.
# Manual Installation:
- Download mods manually from trusted sources or anywhere you want.
- Install mods by placing mod files in the game’s “Data” folder.
- Activate mods through the Fallout 4 launcher or a mod manager.
For PlayStation 4/5 (PS4/5):
- Start Fallout 4 on your PS4 or PS5.
- Navigate to the “Mods” section from the main menu.
- Sign in to your Bethesda.net account or create one.
- Browse mods available on Bethesda.net and download them.
- Activate and manage downloaded mods through the “Mods” menu.
For Xbox One:
- Launch Fallout 4 on your Xbox One.
- Access the “Mods” menu from the main menu.
- Sign in to your Bethesda.net account or create one.
- Browse available mods and download them.
- Activate and manage downloaded mods through the “Mods” menu.
For VR:
- Use Nexus Mods, Steam Workshop (if applicable), or Bethesda.net to find and download mods.
- Install and manage mods using a mod manager compatible with Fallout 4 VR.
- Ensure compatibility with VR gameplay by reading mod descriptions and user comments.
We highly recommend reading mod descriptions and instructions carefully. Exercise caution when downloading mods from third-party sources to avoid security risks.
How to Install Mods on Fallout 4 PC?
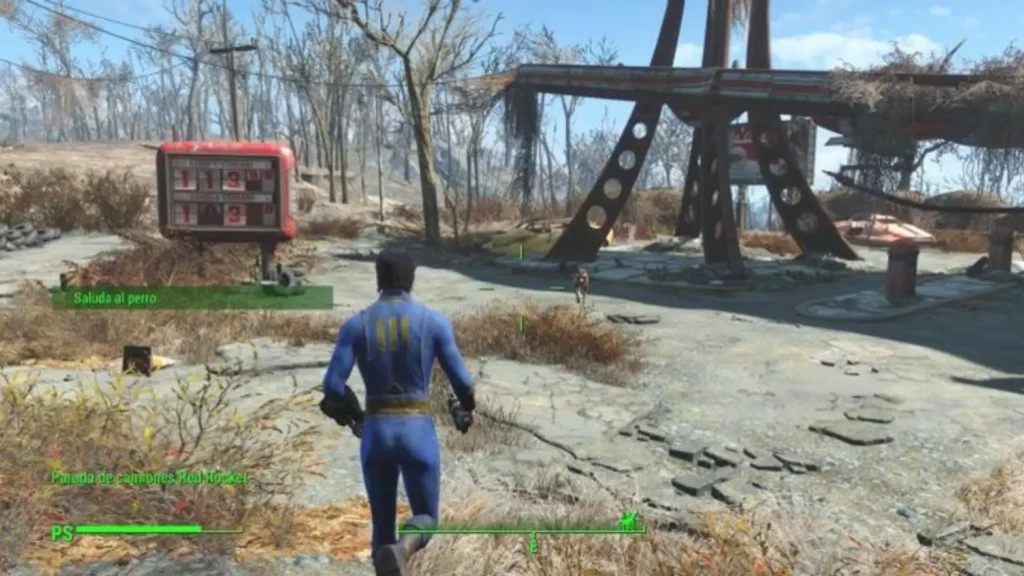
There are multiple ways to install a mod for Fallout 4 on a PC, but we will suggest the straightforward method, which involves using Vortex Mod Manager.
We highly recommend using this method because it’s easy, and manual installation can be risky.
If you’re wondering, Vortex is the mod manager developed by Nexus Mods, so you can trust it.
Here’s how you can install Vortex and then mods for Fallout 4:
- Download and Install Vortex: Go to the Nexus Mods website, search for Vortex, download it, and follow the installation instructions to install it on your computer.
- Launch Vortex and Configure Settings: Open Vortex and follow the setup wizard to configure basic settings like game scan locations.
- Download Fallout 4 Mods from Nexus Mods: Visit the Nexus Mods website, browse Fallout 4 Mods, and download the ones you want to install. Vortex will automatically associate itself with Nexus Mods, making downloading mods seamless.
Now, it’s time to install mods.
Install Mods in Vortex:
- After downloading the mod you want, it will appear in the “Downloads” section of Vortex.
- To install a mod, simply click the orange “Install” button in the “Downloads” section in Vortex.
- Click on the “Mods” tab to see your installed mods.
- You can enable, disable, or uninstall the mod from this tab.
Enable and Adjust Load Order:
- Once mods are installed, ensure they are enabled by clicking on the checkbox next to each mod in the “Mods” section.
- Vortex automatically manages load orders based on mod dependencies and conflicts. However, you can adjust the load order manually if needed by clicking on the “Plugins” tab.
Deploy Mods:
- After enabling mods, Vortex will automatically deploy the mods. If it doesn’t, then click on the “Deploy” button in the toolbar. It will deploy the installed mods to the Fallout 4 directory.
Launch Fallout 4 via Vortex:
- Finally, launch Fallout 4 through Vortex by clicking on the Fallout 4 mod in the Dashboard tab.
- Vortex will ensure that your installed mods are active and correctly loaded into the game.
- To verify if the mod is working, proceed past the initial character creation screen. Then a few options will show up, and you can choose the one you want.
Congratulations, you have successfully installed a mod for Fallout 4 on your PC.
Keep in mind that Vortex simplifies the process of installing, managing, and updating mods for Fallout 4, making it a popular choice among modders.
We advise you to install one mod at a time and then check it. Don’t install multiple mods without checking.
Also, some mods might need other mods to run, so make sure you read the mod description carefully.
What is L1, L2, and L3 Cache? Click here to find out.
How to Install Mods on Fallout 4 Steam?
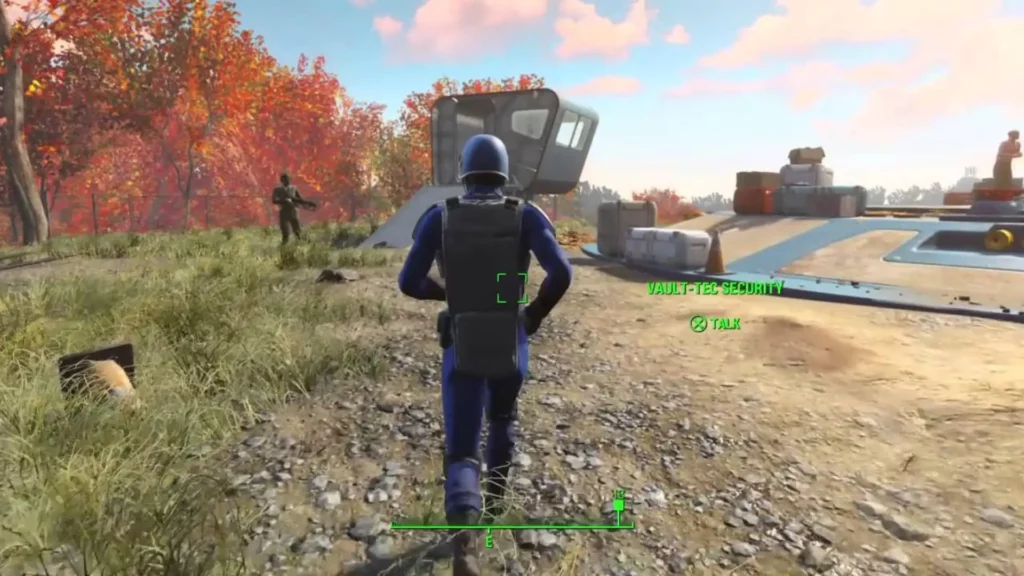
The process of installing mods for Fallout 4 on Steam and PC is quite similar, but there are a few key differences:
- On PC, mods can be downloaded from various sources such as Nexus Mods, Bethesda.net, or directly from mod authors’ websites, while on Steam, you primarily use the Steam Workshop to find and subscribe to mods.
- On PC, you can use mod managers like Nexus Mod Manager (NMM), Mod Organizer 2 (MO2), or Vortex to manage and install mods, while Steam has its built-in mod management system for games like Fallout 4, accessed through the game’s launcher.
- On PC, you manually download mod files from the internet and install them using your chosen mod manager. On Steam, you subscribe to mods on the Steam Workshop, and they are automatically downloaded and installed by Steam.
Let’s now install the Fallout 4 mods through Steam.
Before installing mods through Steam, ensure that your copy of Fallout 4 is properly set up on Steam. Also, make sure the game is updated to the latest version.
- Launch Fallout 4: Open Steam and navigate to your library. Find Fallout 4 in your list of games and launch it.
- Access the Mods Menu: Once Fallout 4 is running, navigate to the main menu and select “Mods.” This will take you to the in-game modding interface provided by Bethesda.
- Sign in to Bethesda.net: Sign in to your Bethesda.net account or create a new one. This account is necessary to access and download mods for Fallout 4.
- Browse Available Mods: Browse the available mods for Fallout 4. You can search for specific mods or browse through categories.
- Subscribe to Mods: When you find a mod you want to install, select it to view more details. If you decide to install it, click the “Subscribe” button. This will add the mod to your list of subscribed mods.
- Enable Mods: After subscribing to mods, navigate to the “Mods” menu again. You’ll see a list of your subscribed mods. Make sure the mods you want to use are enabled by checking the box next to each mod’s name.
- Adjust Load Order (if necessary): Some mods may require a specific load order to work correctly. If you encounter compatibility issues, you can adjust the load order by selecting the “Load Order” option in the mod menu.
- Download and Install Mods: Once you’ve subscribed to mods and enabled them, Steam will automatically download and install the mods for you. This process may take some time depending on the size of the mods.
- Launch Fallout 4 with Mods: After the mods are downloaded and installed, you can launch Fallout 4 with the mods active. Simply exit the mod menu and start a new game or load an existing save file.
Now, you can enjoy Fallout 4 with your newly installed mods.
We recommend periodically checking for mod updates and managing your mod list to ensure a smooth gameplay experience. And, always be cautious when installing mods, especially those from unknown sources, to avoid compatibility issues or conflicts.
You might also like the gaming laptop vs normal laptop comparison.
How to Install Mods on Fallout 4 PS4 and PS5?
It’s important to note that the process for installing mods on PS4/PS5 for Fallout 4 differs from that of PC and Steam because of platform restrictions and the way modding is implemented on each platform.
On PC and Steam, Fallout 4 modding is typically done using third-party modding platforms such as Nexus Mods or through direct manual installation. Players have the freedom to install an extensive range of mods and can often customize their game to a greater extent.
However, on PS4 and PS5, modding capabilities are more limited due to platform restrictions imposed by Sony.
Follow these steps to install Fallout 4 mods on PS4/PS5:
Before starting, you’ll need to create a Bethesda.net account. To create an account, go to the Bethesda.net website and follow the instructions provided.
- Access Mods in Fallout 4 Menu: Start Fallout 4 on your PS4/PS5 console and navigate to the main menu. From there, select the “Mods” option.
- Sign In to Your Bethesda.net Account: Sign in to your Bethesda.net account using the same credentials you used to create the account.
- Browse and Select Mods: Once logged in, you’ll be able to browse through the available mods. You can use filters and find mods that interest you. When you find a mod you want to install, select it for more details.
- Download Mods: After selecting the mod, download it. Some mods may require additional downloads or mods dependencies, so follow the instructions provided.
- Enable Mods: After downloading the mod, go back to the “Mods” menu and locate the mod you downloaded. Enable the mod by selecting it and choosing the “Enable” option.
- Load Order: The game automatically manages the load order of mods, but in case it doesn’t, you can manually adjust it by selecting the “Load Order” option in the “Mods” menu. It’s best to follow any guidelines provided by mod authors for the optimal load order.
- Start Fallout 4 with Mods: After enabling and arranging your mods, exit the “Mods” menu and start a new game or load a saved game. Your selected mods should now be active and ready to use in-game.
By following these steps, you can successfully install and manage mods for Fallout 4 on your PS4 and PS5.
Is 8GB of RAM enough for your laptop, PC, or gaming needs? Click here to find out.
How to Install Mods on Fallout 4 Xbox?
The process for installing mods on Xbox is very similar to that on PS4, but there are some differences in the platforms’ modding ecosystems and capabilities:
- Mod Sources: Similar to PS4, Xbox users can only access mods through Bethesda.net due to platform restrictions. It means Xbox users have a limited selection of mods compared to PC users, who can access mods from various sources like Nexus Mods.
- Mod Selection: Xbox users have access to a similar selection of mods as PS4 users, and they are subject to similar restrictions imposed by platform holders.
- Mod Installation Process: The installation process for mods on Xbox is also similar to PS4. Users can browse and download mods directly from the in-game menu.
- Load Order Management: Like on PS4, the load order of mods on Xbox is automatically managed by the game itself.
Follow these steps to install Fallout 4 mods on Xbox:
- Access Mods in Fallout 4 Menu: Start Fallout 4 on your Xbox console and navigate to the main menu. From there, select the “Mods” option.
- Sign In to Your Bethesda.net Account: Sign in to your Bethesda.net account using the same credentials you used to create the account.
- Browse and Select Mods: Browse the available mods and select the ones you want to install.
- Download Mods: After selecting a mod, download it to your Xbox console. Follow any instructions provided and ensure you have the required space on your console.
- Enable Mods: Once downloaded, go back to the “Mods” menu and enable the mods you want to use.
- Load Order: The load order of mods is automatically managed by the game, so you don’t need to manually adjust it.
- Start Fallout 4 with Mods: Exit the “Mods” menu and start a new game or load a saved game. Your selected mods should now be active and ready to use in-game.
By following these steps, you can successfully install mods on your Xbox for Fallout 4.
Are 10th Gen CPUs still worth it? Click here to find out.
How to Install Mods on Fallout 4 VR?
The steps for installing mods on Fallout 4 VR are very similar to those for the standard version of Fallout 4:
- Access Mods in Fallout 4 VR Menu: Start Fallout 4 VR on your VR device and navigate to the main menu. From there, access the “Mods” option.
- Sign In to Your Bethesda.net Account: If required, sign in to your Bethesda.net account using the same credentials you used to create the account.
- Browse and Select Mods: Browse through the available mods and select the ones you want to install.
- Download Mods: After selecting a mod, download it to your VR device. Follow any instructions provided, and ensure you have the required space on your device.
- Enable Mods: Once downloaded, enable the mods you want to use.
- Load Order: Similar to the standard version of Fallout 4, the load order of mods in Fallout 4 VR is automatically managed by the game.
- Start Fallout 4 VR with Mods: Exit the “Mods” menu and start a new game or load a saved game. Your selected mods will now be active and ready to use in-game.
While the overall process is similar to the standard version of Fallout 4, some aspects may be slightly different due to the VR platform.
However, the basic steps for browsing, downloading, enabling, and using mods remain largely the same.
Are BenQ monitors good for gaming? Click here to find out.
Conclusion
Mods are fun to use, especially in games like Fallout 4. Additionally, the convenience offered by platforms like Vortex has made the whole process a lot easier.
We recommend avoiding manual methods unless you are fully confident in what you are doing.
We also advise you to carefully read the description provided by the author to ensure the game installs and runs without any conflicts.
Furthermore, we recommend avoiding downloading mods from unknown sources. Make sure the platform you use to download the mod is trusted.
Are AirPods Pro 2 worth it even today? Click here to find out.
So, how do you install mods on Fallout 4 for PC, Steam, PS4/PS5, or Xbox? We’re sure you have the answer now.
If you still have any doubts, feel free to ask us in the comment section.
Also, share your thoughts if you agree or disagree with the points mentioned above.


